
One of my main passions, besides travelling, is undeniably home interior decor. Since I had a place I could call my home, it has been 3 years soon that I am equipping my little cocoon.
I have opted for minimalist decor, white walls all over and which makes space looks bigger. My place has objects from all the destinations I have travelled, but they are very discreet. I must say as well that I enjoy a lot doing DIY home deco when I get some spare time. It really soothes me, besides the feeling of satisfaction when I get close to or succeed in realizing what I had in mind.
The willingness and patience to create my own I guess comes from my Grandmother. She was a fantastic lady who beyond everything loved plants and was very crafty. I have memories of her sewing, doing embroidery, crochet and macramé. I was so lucky to have her to initiate the passion of DIY. I learned so much from her as she was left-handed like me. Left-handed persons can relate to how difficult it is when someone who is right-handed is teaching you sewing for example. It’s the world upside down.
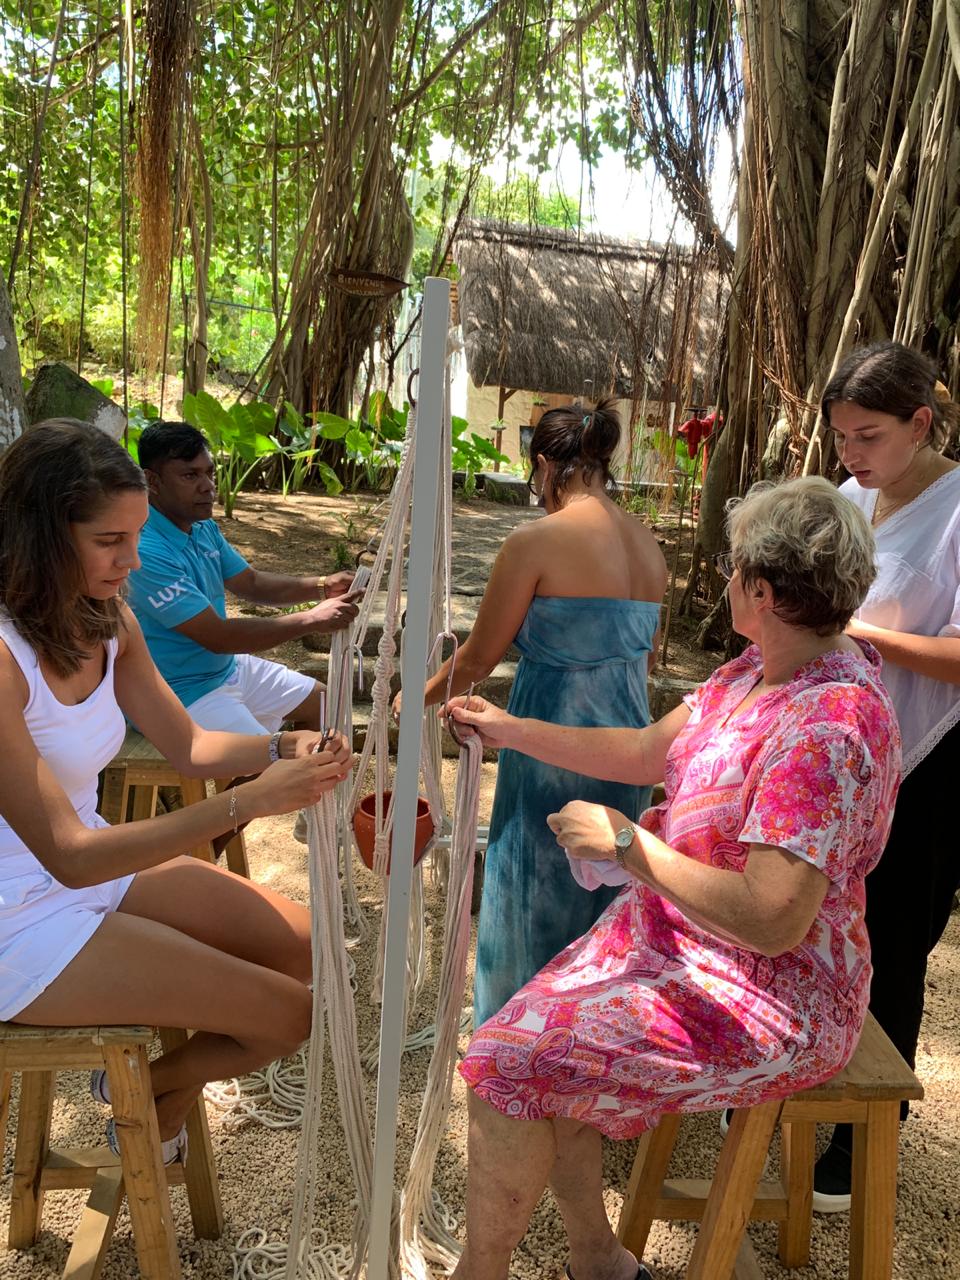
I have joined a few macramé workshops in the past and followed a couple of Macramé tutorials on YouTube but this workshop I attended at Lux* Grand Gaube by Jade Paton was fun and interactive plus she gave some useful tips and common mistakes to avoid in order to get a beautiful and symmetric plant hanger.
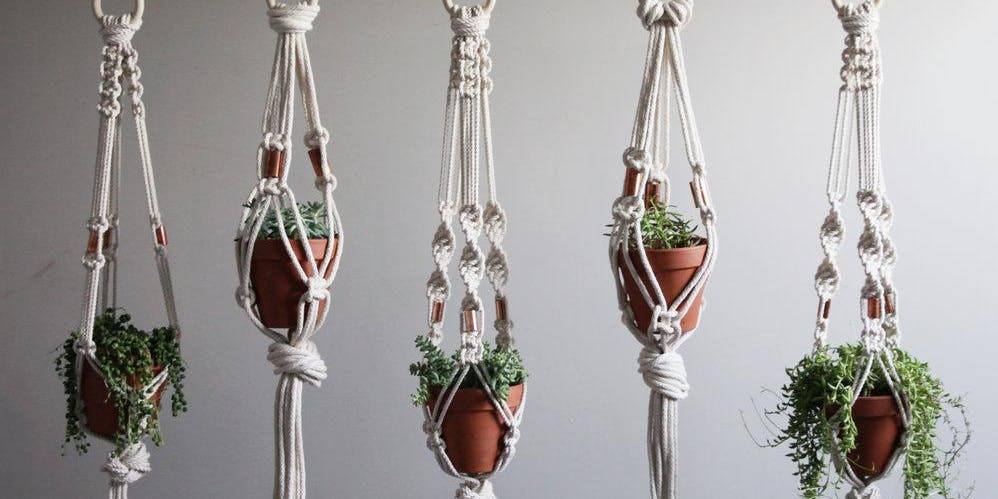
The macramé is the art of knotting strings in patterns to make decorative pieces. It is very versatile, you can make accessories like handbags, key rings, necklaces, dresses, home decors like plant hangers, hammocks, wall hanging, table cloth, curtains and so much more.
What you will need:
- A ring (wooded or plastic or metal)
- Macramé strings (4mm) available at Hobby World shop, Mauritius
- A measuring tape
- A pair of scissors
- A plant and a pot of your choice
In the making of this plant hanger, you will need to measure and cut the strings at different length because some knots need longer strings and to avoid ending up with an unequal plant hanger.
Cut 4 pieces of 4-meters of macrame strings, then 4 pieces of 3-meter strings. You will end up with 8 macrame strings. Equally half them inside the ring, you will see it has mixed length.
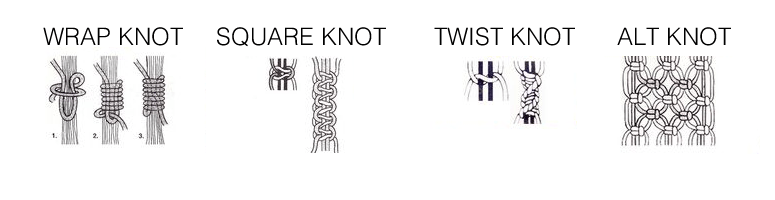
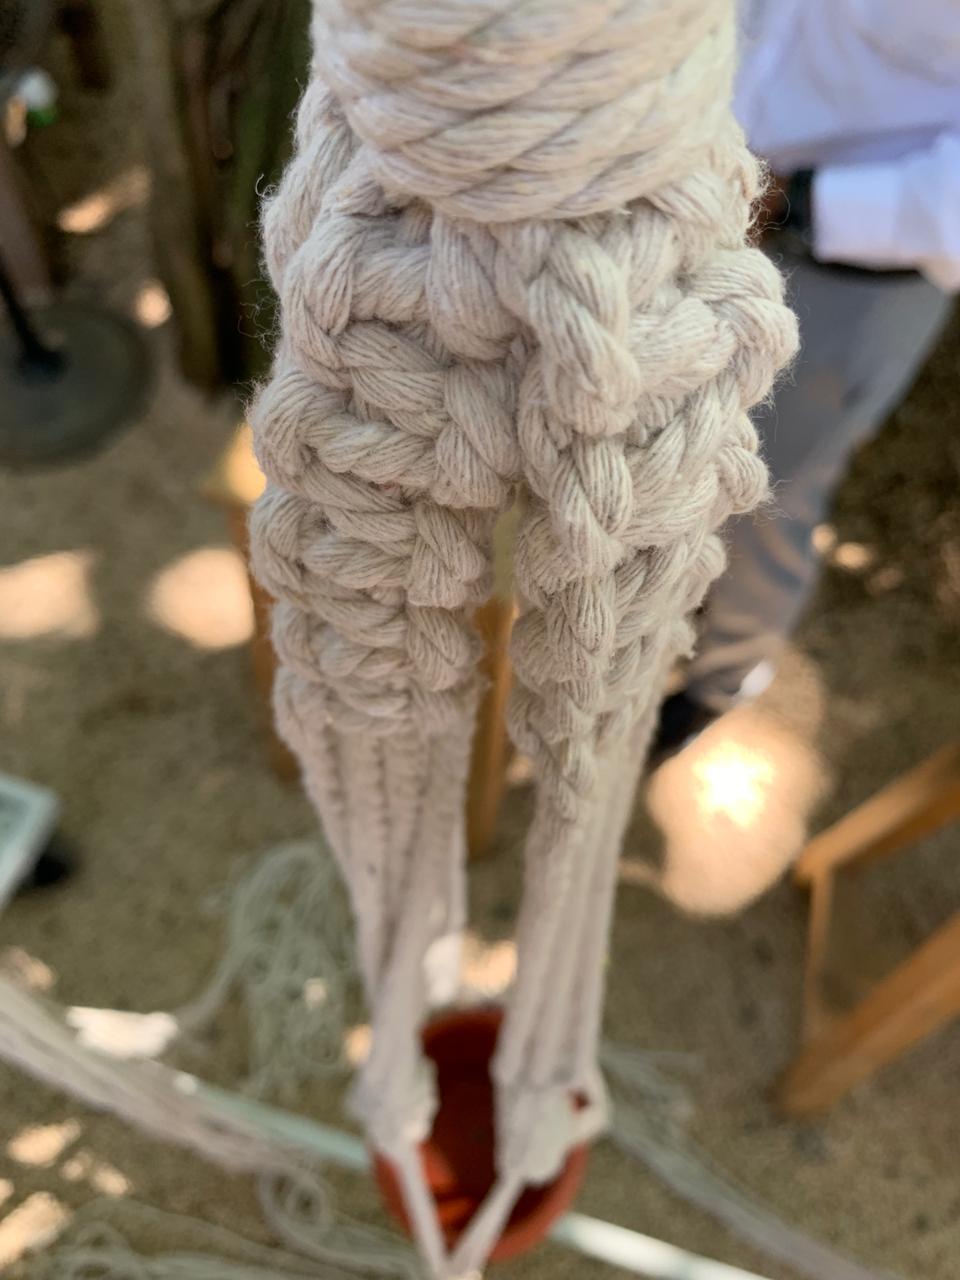
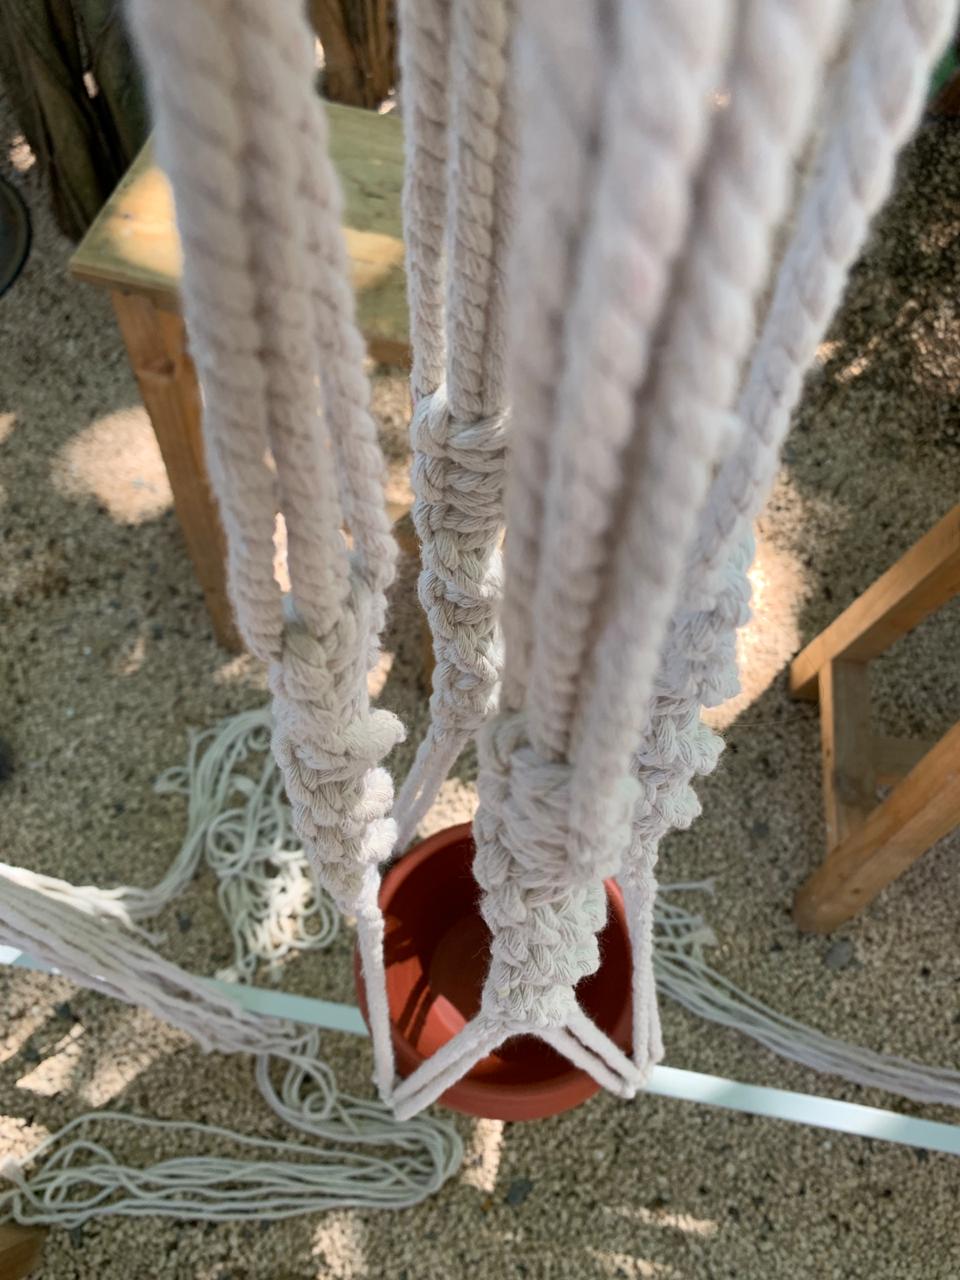
Next step, take another string of about 40 cm to make the “wrap knot”. This is what will attach all of the macrame strings together and hold them tight. (see image below) else you could also see the tutorial on youtube of the “macrame wrap knot”.
You would now have to gather a series of four strings, take two long ones together with two shorts ones. Important to keep the 2 shorted strings in the middle with the longer strings, one on each side of the 2 short ones. Now, make four separate series each of the strings exactly as mentioned above.
For the same style as the macrame model I did, I started with 5 square knots. Repeat the process on the rest of the series. Then leave about the space you want for the next knots. Jade’s Tip before starting with the “twisted knots” straight away, is to make about 3 square knots to hold the twisted knots and also to end with 3 square knots with the “twisted knots” in between.
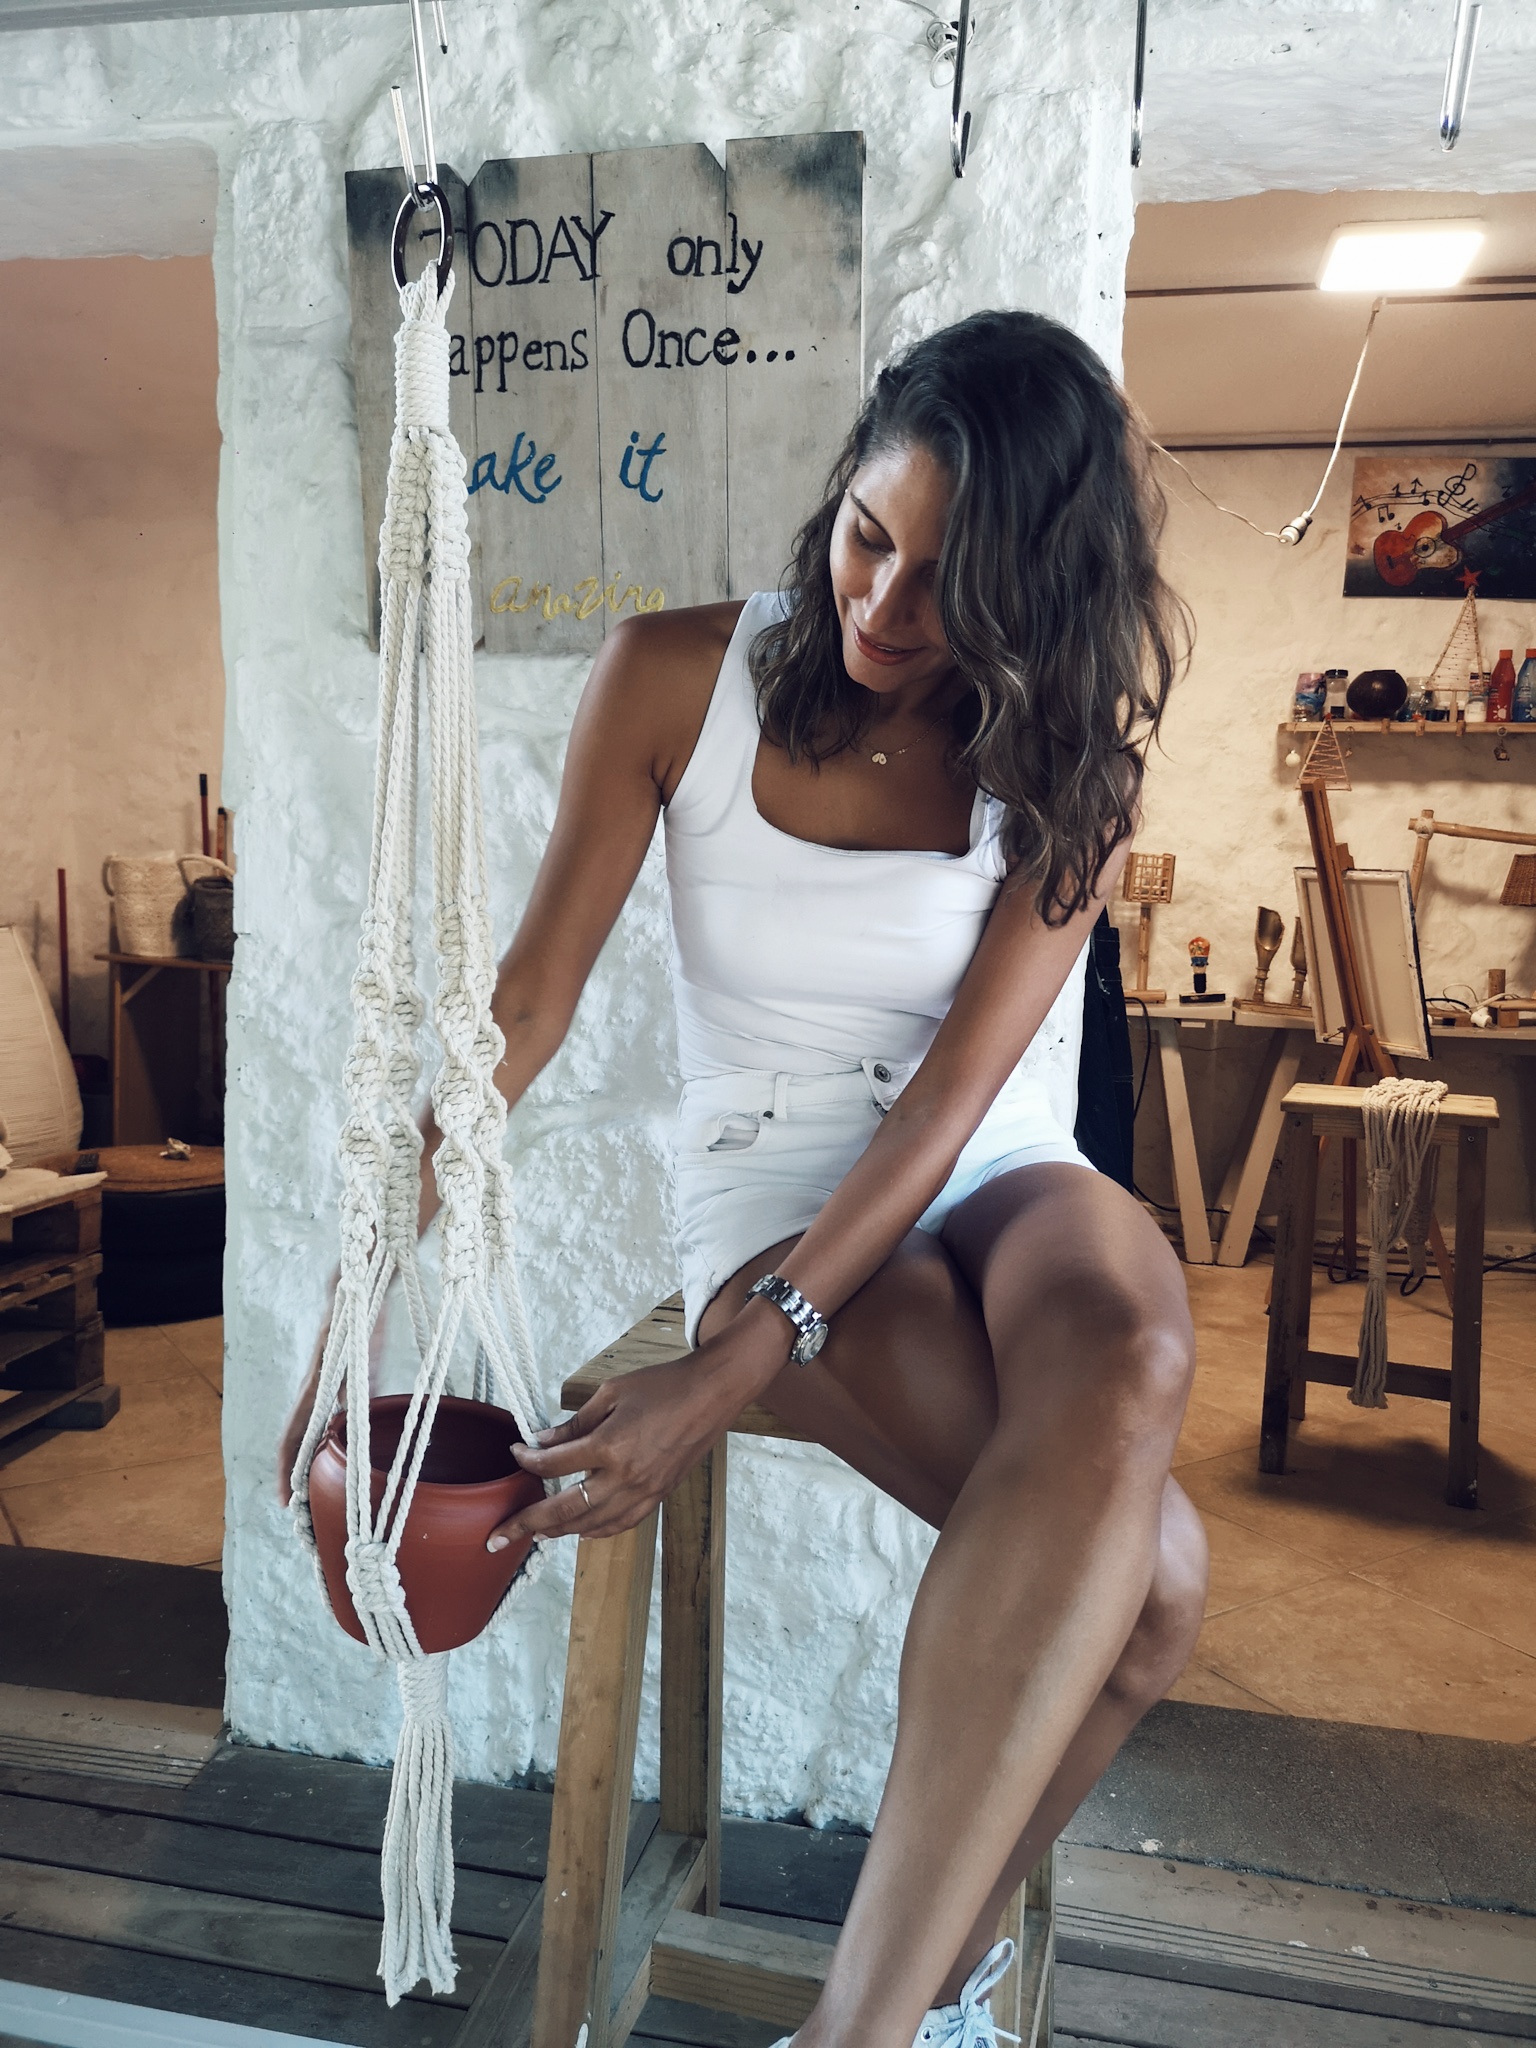
When completed, once more, leave about the length you want for another series of knots but be careful, you would not want to run out of strings and be short with the end. Before doing the end “wrap knot” do again 3 square knots on the each of the 4 series of strings. And to complete your plant hanger, repeat the same process as for when stating, that is, with a “wrap knot” with a piece of 40cm of macrame string. When done you can chop the end string either evenly or irregular. Now all you have to do is hang it somewhere and place your pot in it with the plant of your choice.
You could also add beads to your macrame plant hanger to make it special or dye it half or full. The rest is up to you.
IMPORTANT TIP:
- Square knot – To have a square knot, you need to alter the sides, once starting from the left and the next one from the right.
- Twisted knot – To have a twisted knot, even easier, keep the same side when making the knots. If you want your twist knots to look good, all twisting in the same direction. Always start them in the same direction. If you started from the left, then always keep the left on the other series of strings.
Now that we have the basics clear, Let’s knot.
Not all of you will get it right the first time, it’s okay. Keep concentrated all the time and have fun doing it. Then once you master the knots, be your own kind of creative in your plant hanger or other macrame pieces.
Besides all the crafts you can make with the macramé, the process of making it is very meditative and relaxing.
If you want to know more on the other workshops which the Lux* Resorts offer in Mauritius, click on this link below.
Hope this blog post was helpful, the art of Macrame is very visual. I would also suggest you watch a couple of Youtube tutorials.
Leave a comment in the comment section if I can help any further. Have fun 🙂
With Love
xxKatiaxx
Cuba – The classics keep rolling
Read MoreBali – Indonesia
Read MoreInto the Closet of a Fashion Stylist
Read MoreEgypt – The land of the Pharaohs
Read MoreMysa Maison – The gorgeous linen and home furnishing address
Read More